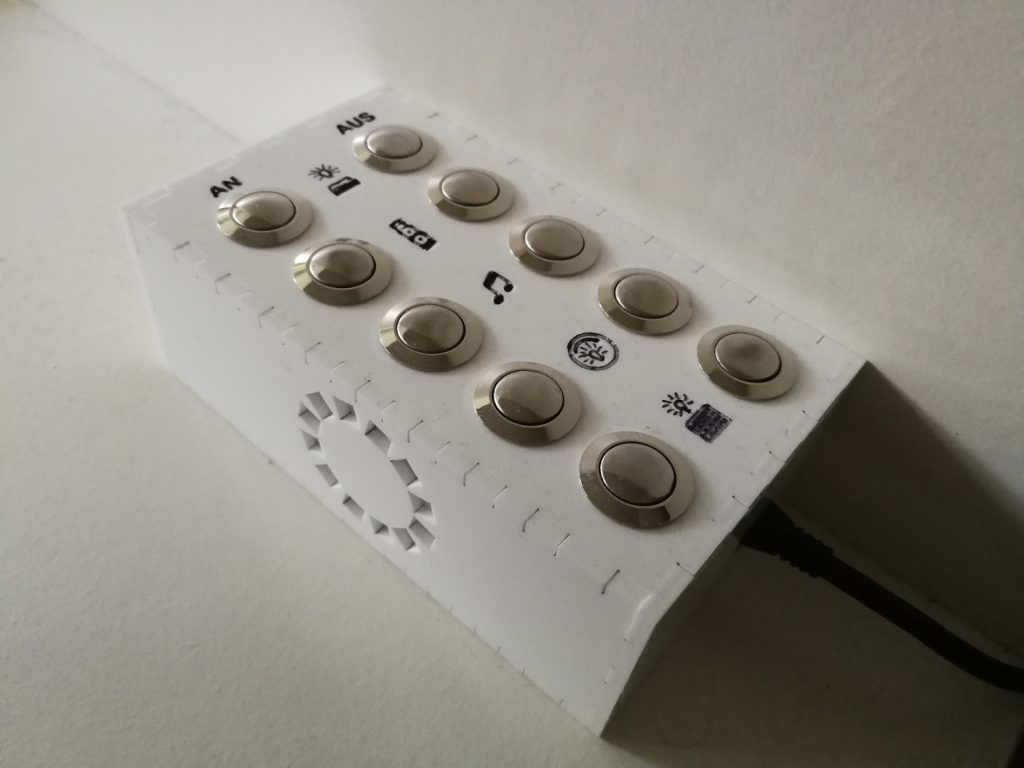
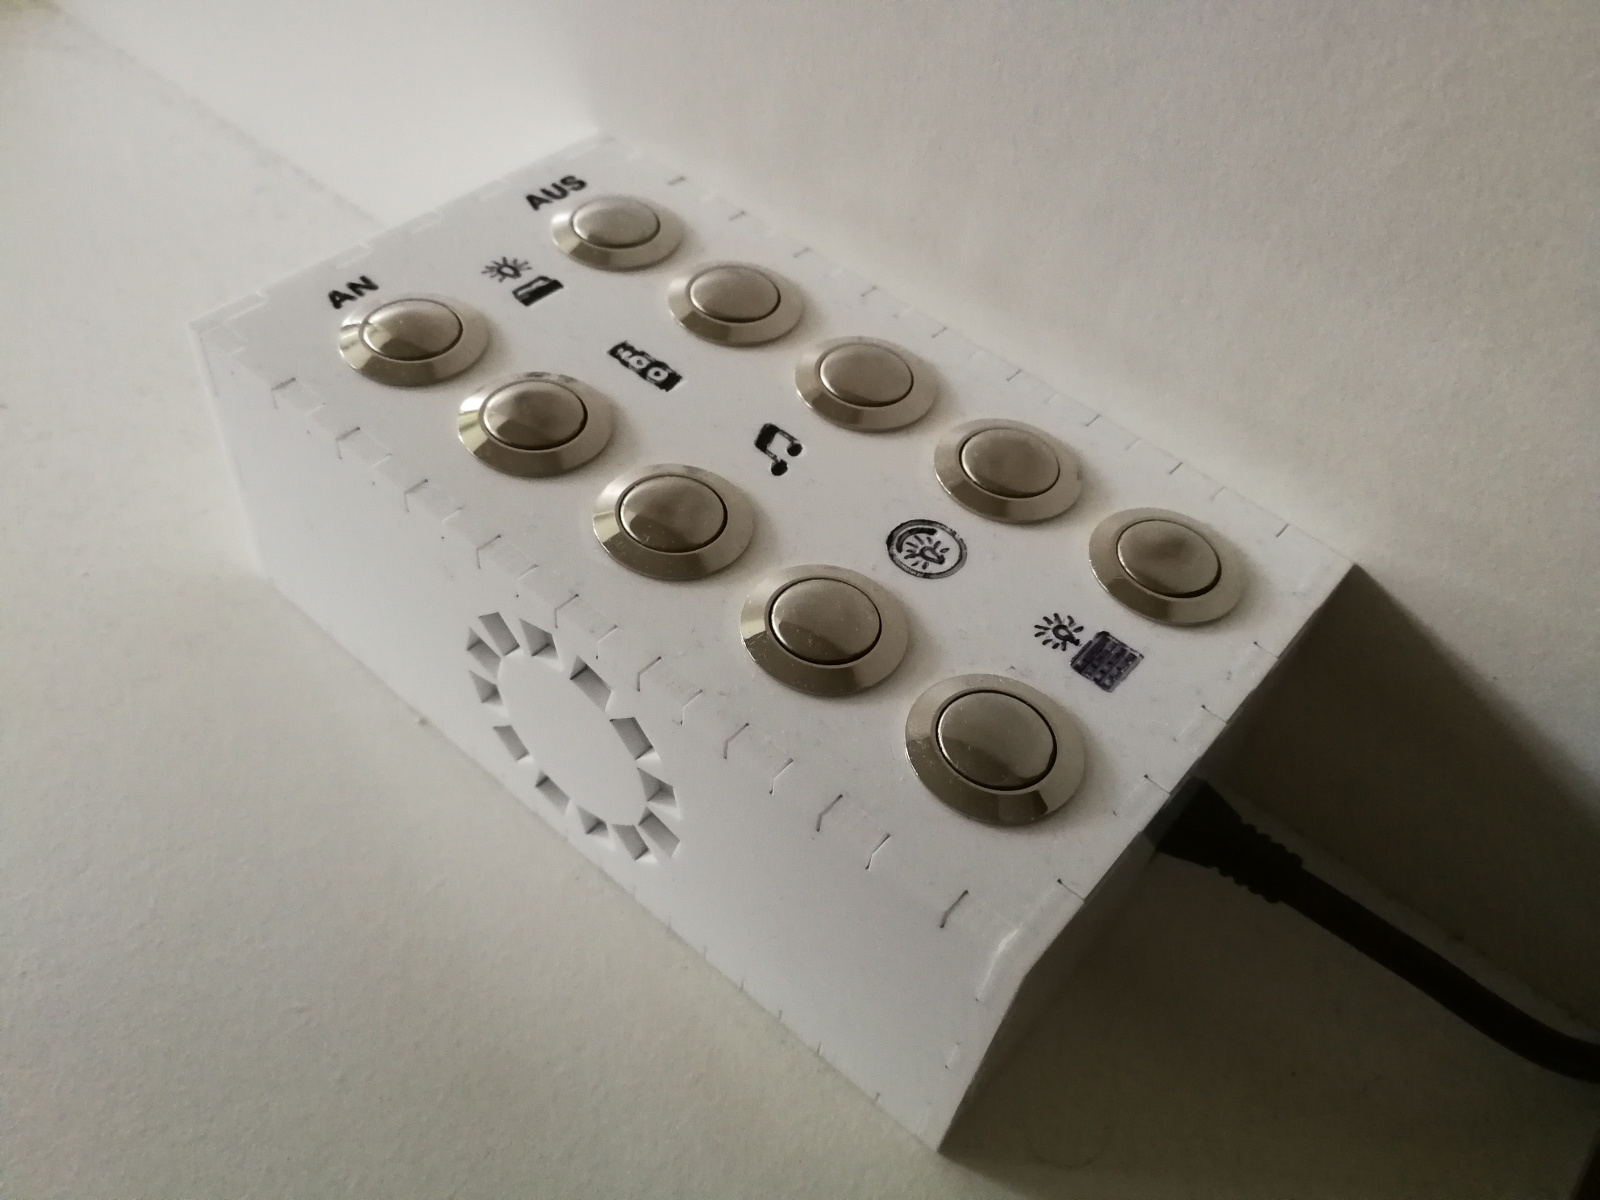
The pushbuttons used in my smartswitch did no longer respond correctly to presses so I replaced them with some better buttons and adjusted the case. Additionally I included a DFPlayer Mini to play some sounds by pressing a button.
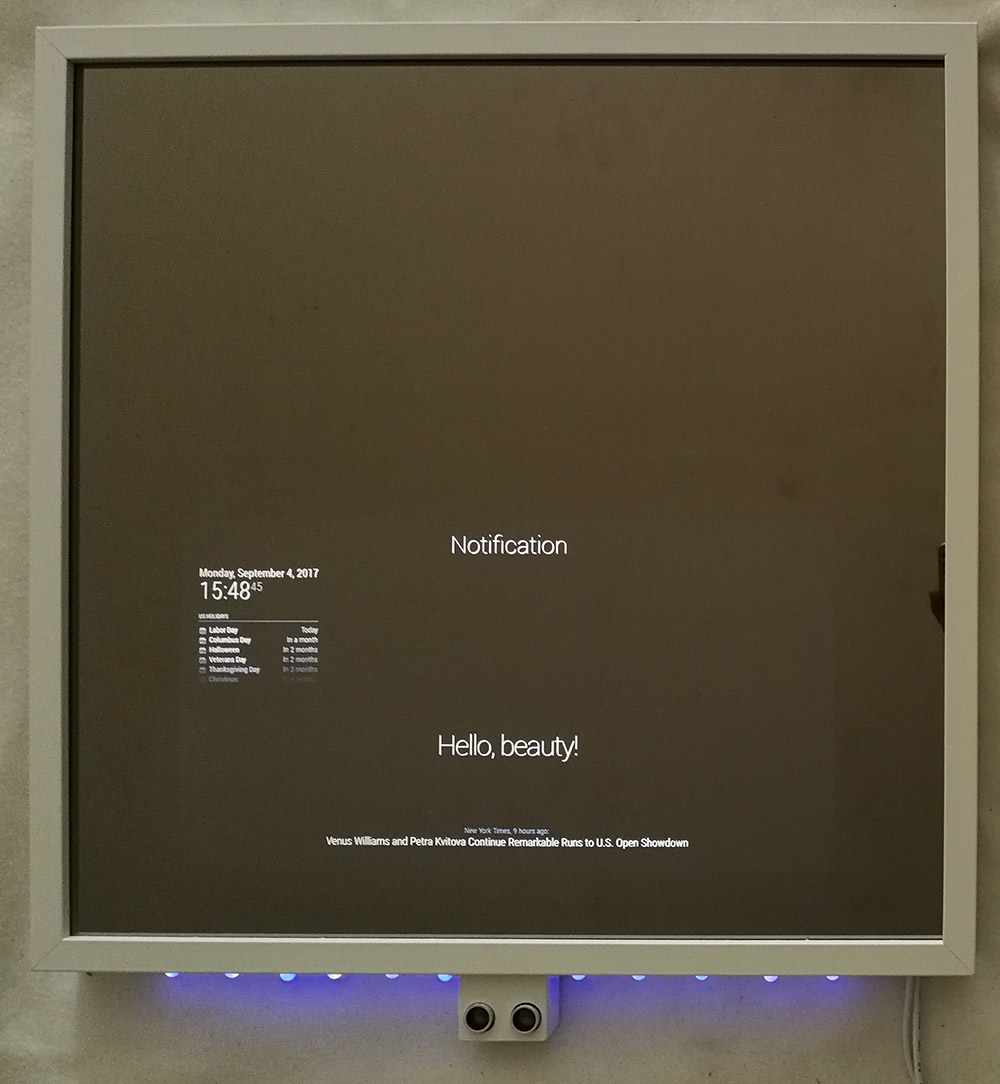
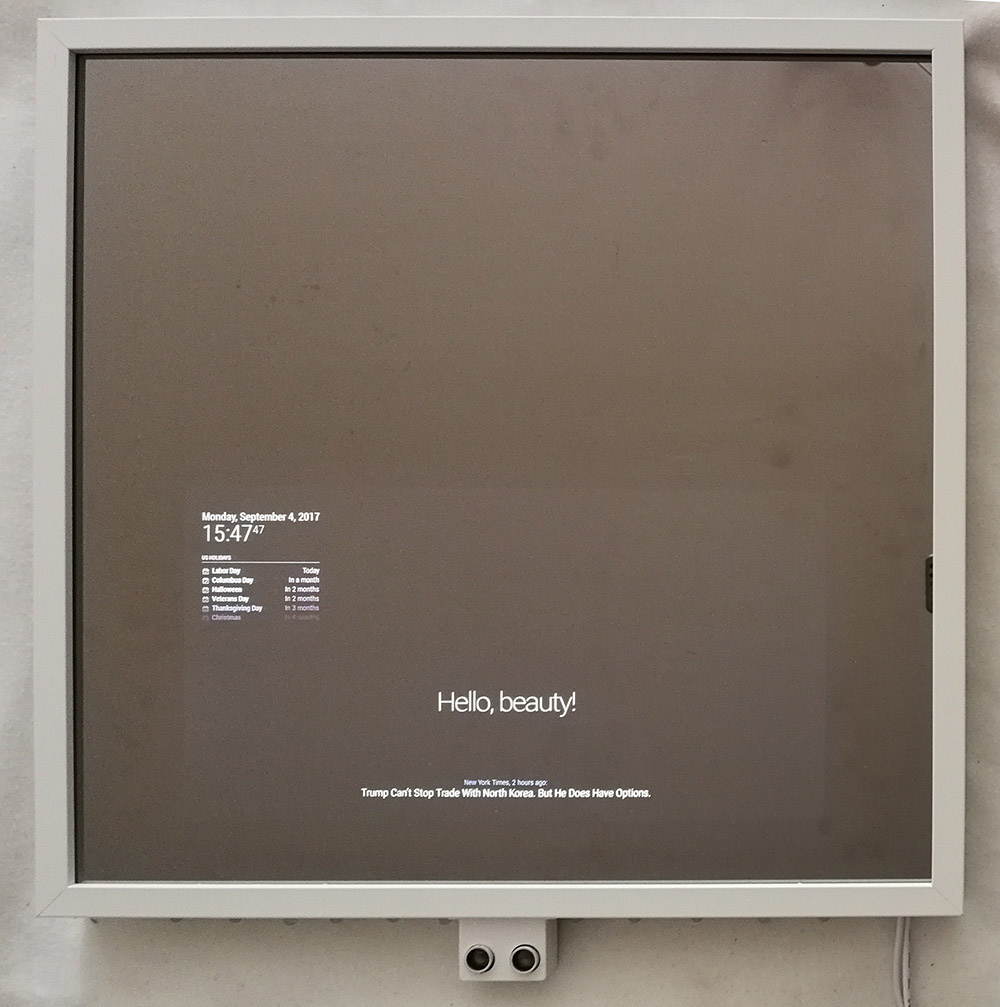
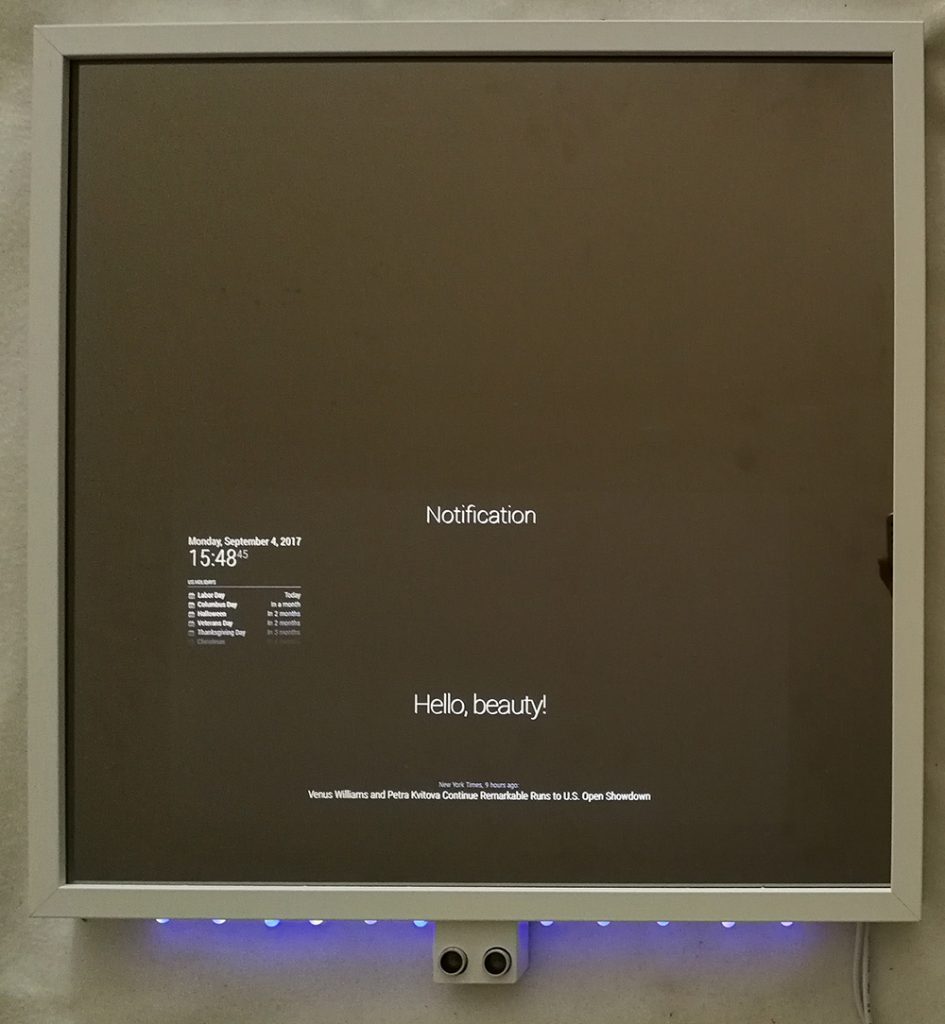
In MagPi 54 the MagicMirror² was featured and got my attention. After some research I realized a good two-way-mirror is hard to get. At the same time there was a centralized order for the mirror in germany so I decided to participate.
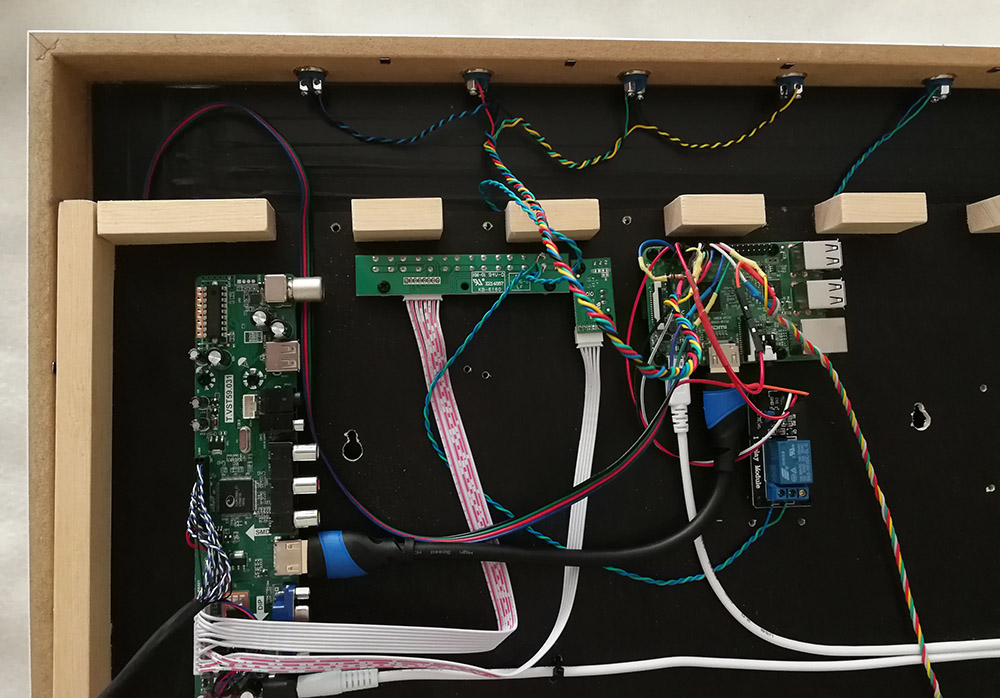
Since I didn’t want to create a custom frame I based the hardware components on the tutorial off glancr and used a Ikea RIBBA Frame. The Raspberry Pi 3, the display controller and a 5V relay are mounted to a black silkscreen plate which has a wood frame to maintain space for these components.
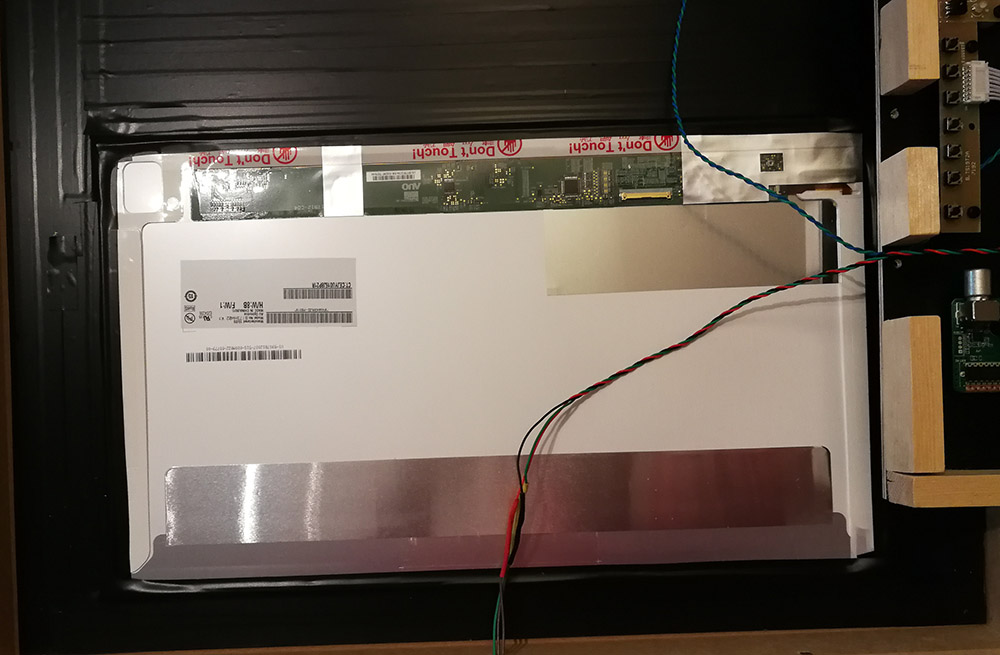
The LCD display is smaller than the mirror and taped to the mirror. The remaining mirror glass is masked with black rigid PVC to prevent transparency of the inner components.
Some small push buttons on the top of the frame are used to toggle MagicMirror modules and shutdown the mirror.
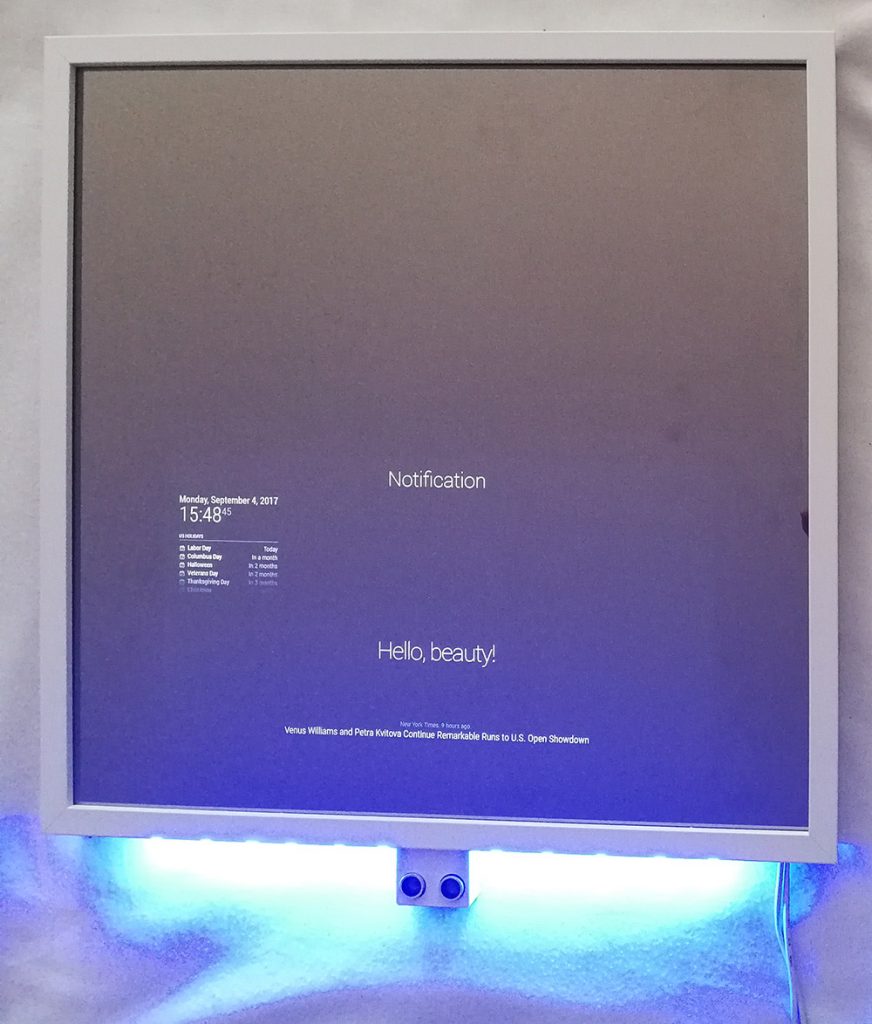
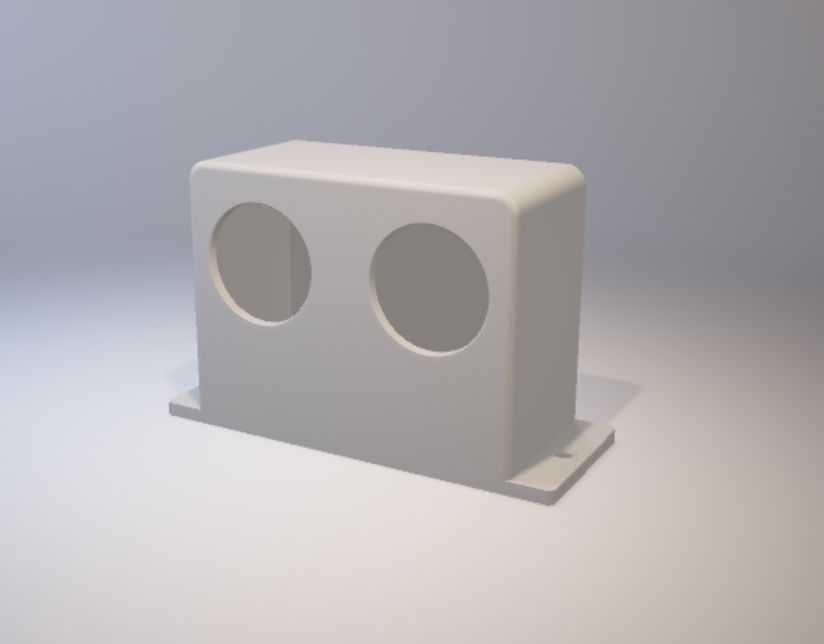
Most of the time the display can be powered off because nobody is around so I decided to mount a 5V relay to the power button of the display controller. Additionally the power button is also duplicated on the top. A HC-SR04 distance sensor can determine when there is somebody standing in front of the mirror and trigger the relay which triggers the power button of the display controller. When there is nobody around for some time the relay is also triggered to save energy and disable the display. The HC-SR04 sensor is mounted in a self made 3D printed case.
11 WS2801 LEDs are connected by SPI to the Raspberry Pi and can be triggered on incoming notifications.
Parts:
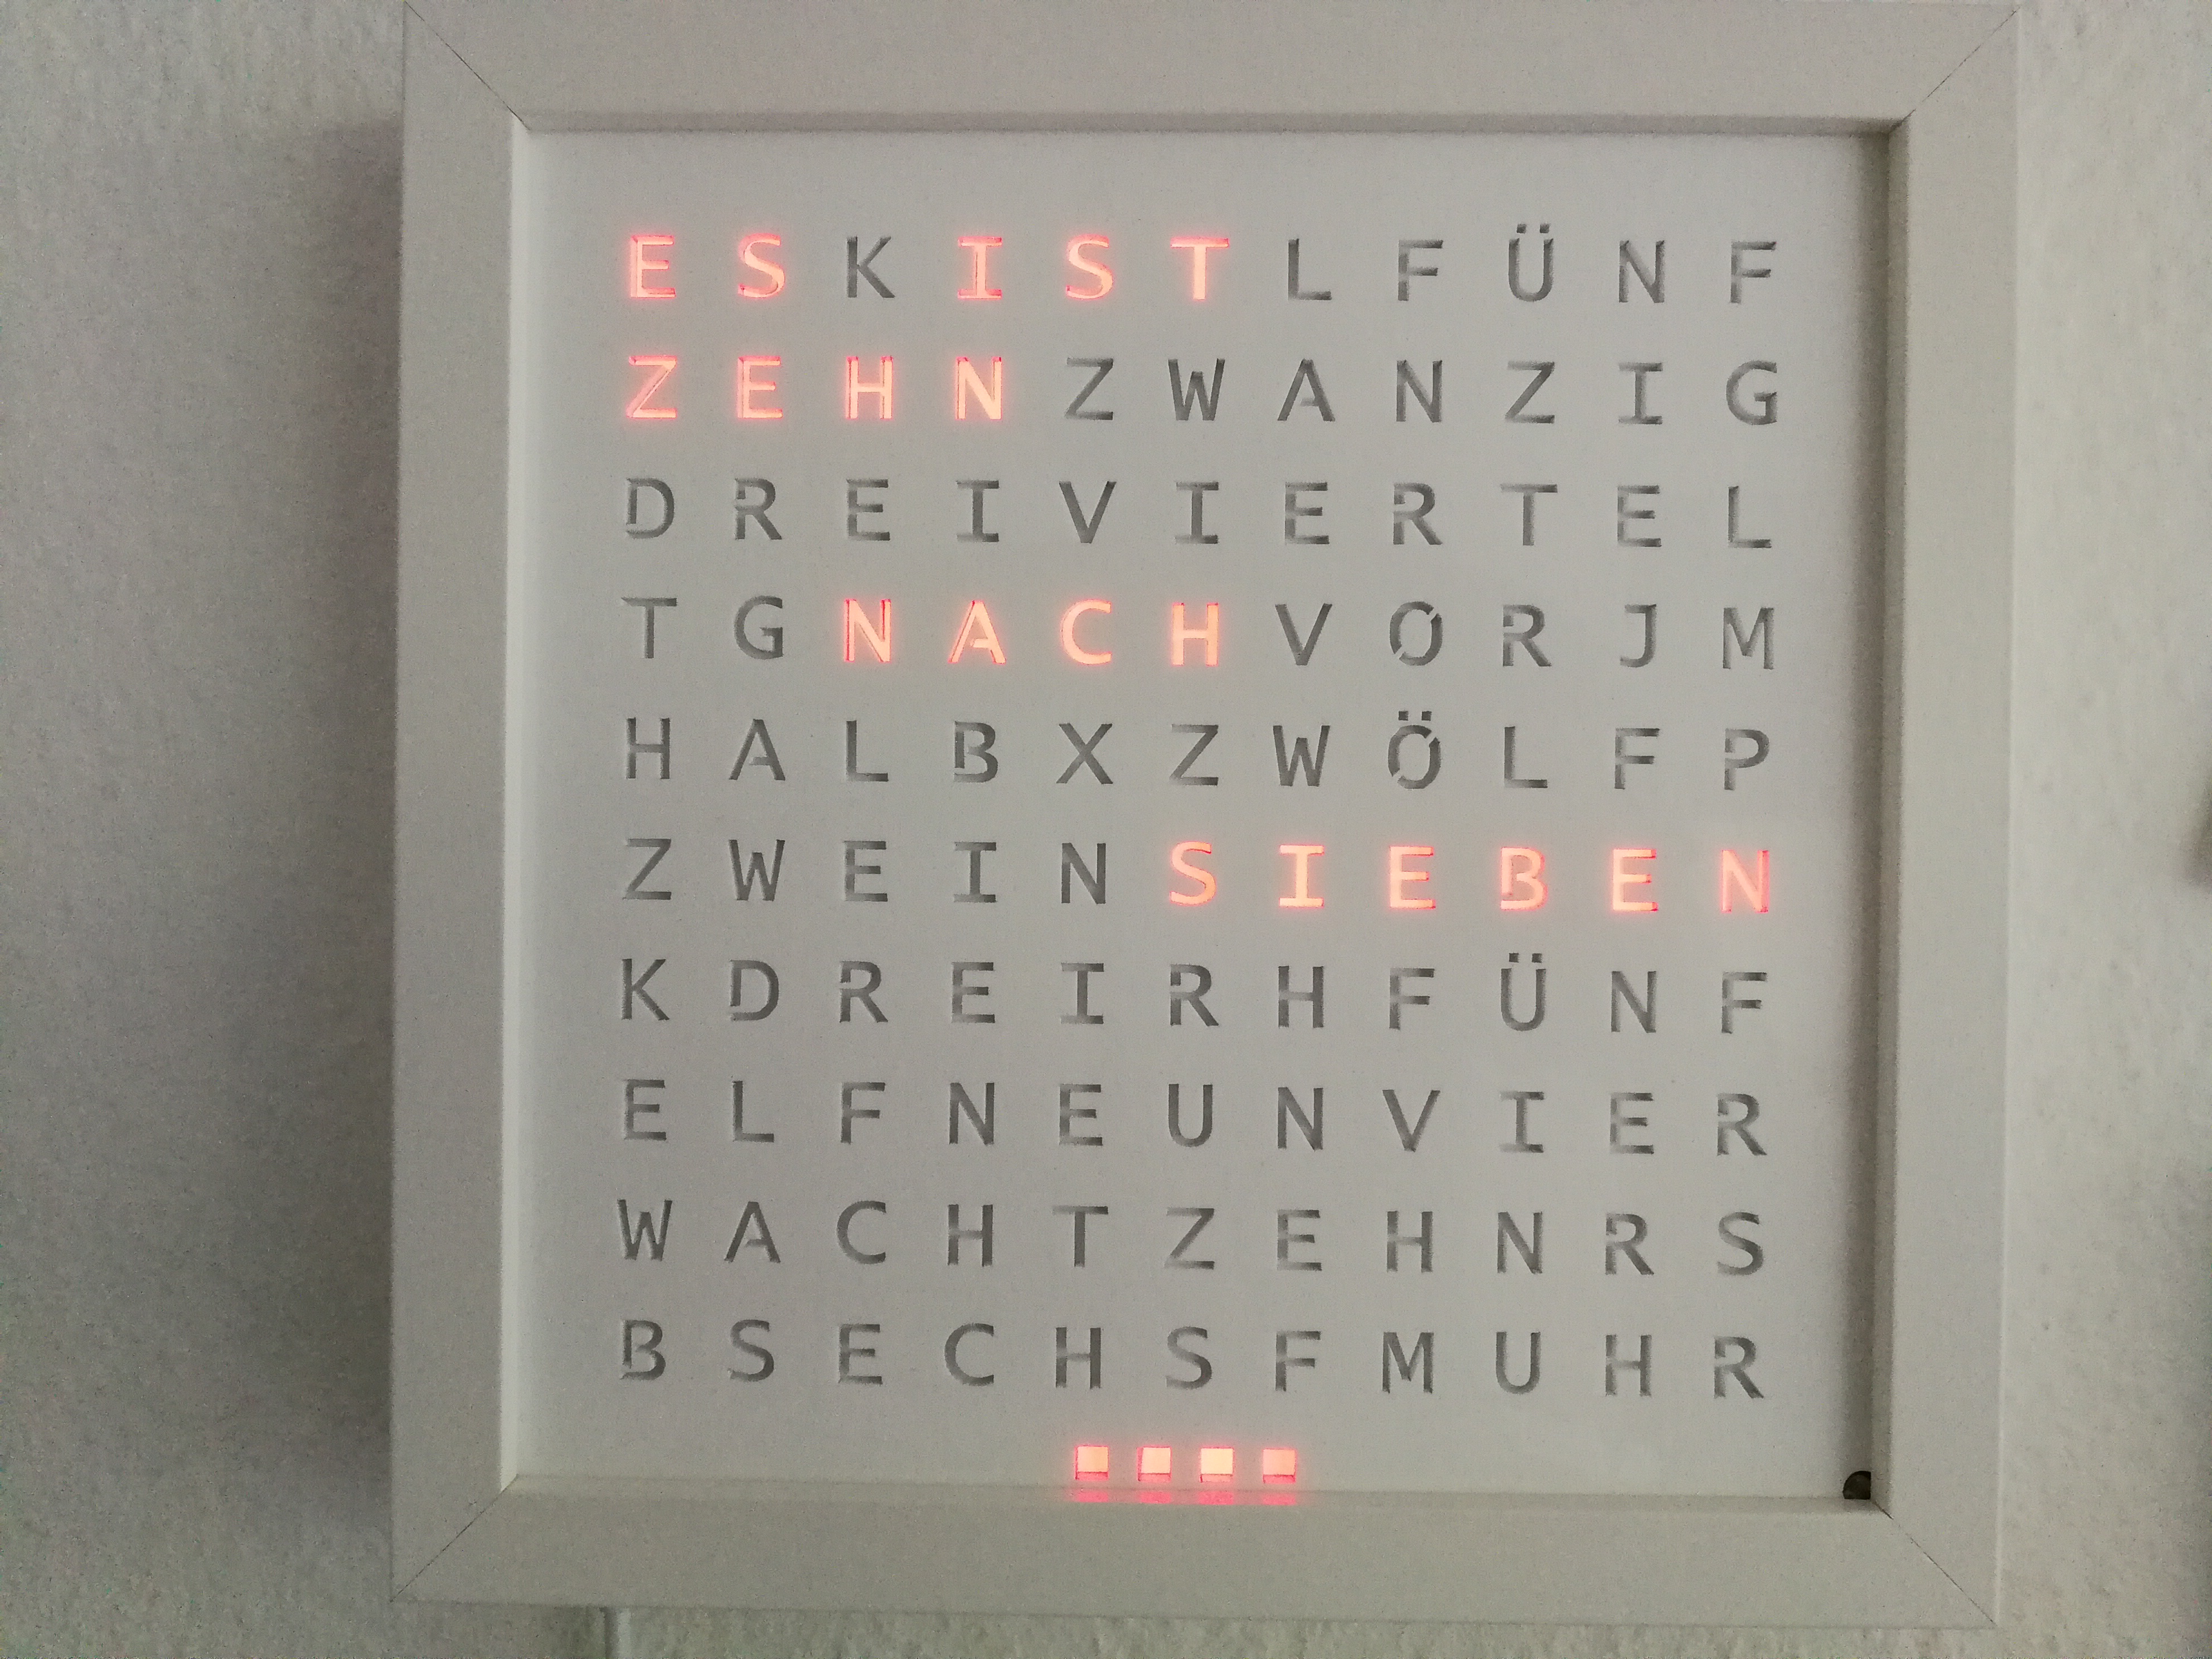
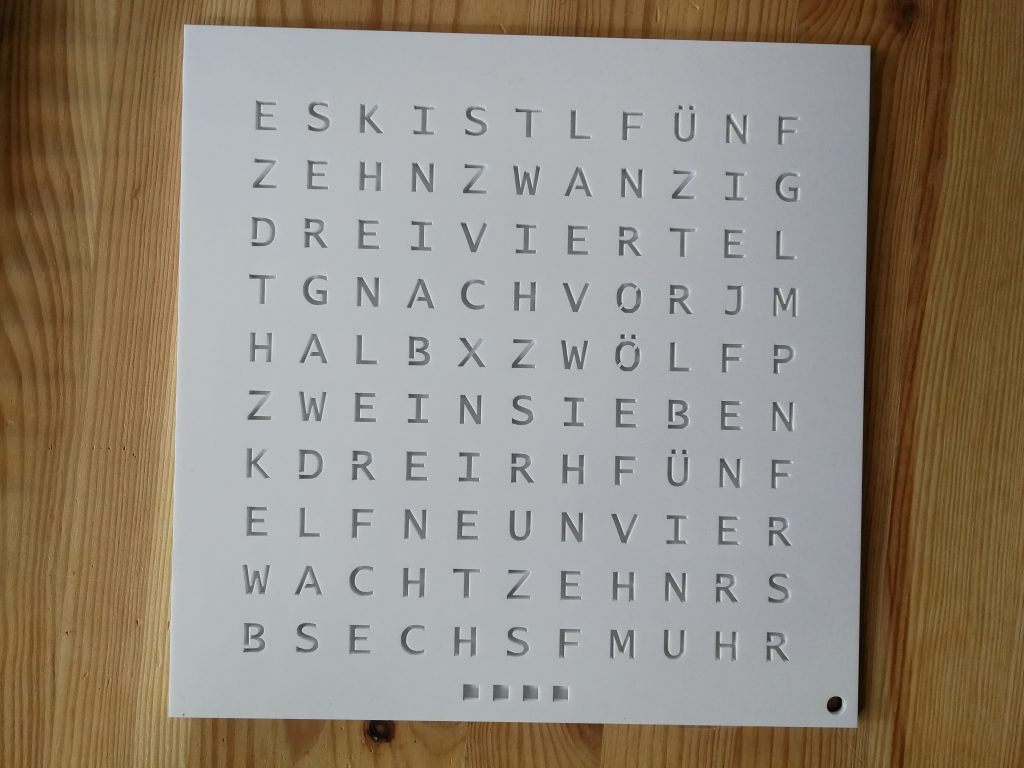
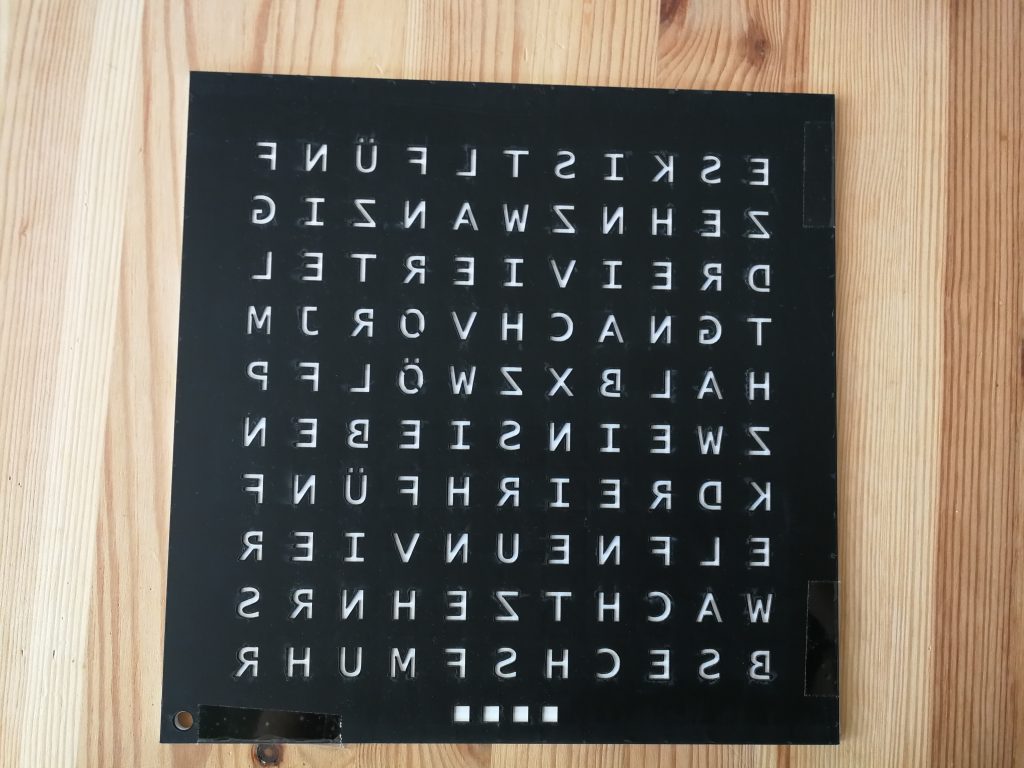
In the meantime some of my family members saw my wordclock and liked it so I build some more. I faced some problems while building a white wordclock because the white acrylic is not as opaque as black acrylic. To fix this I made a polypropylen plate with the same letters like the frontplate cutted sitting between the frontplate and the diffuse paper:
I developed a module to hide/show modules based on notifications for my MagicMirror.
You can also define to toggle between show and hide and hide module on startup.
It can be easily combined with MMM-Buttons to hide or show modules with the press of a button.
Download at: https://github.com/Trekky12/MMM-ModuleToggle
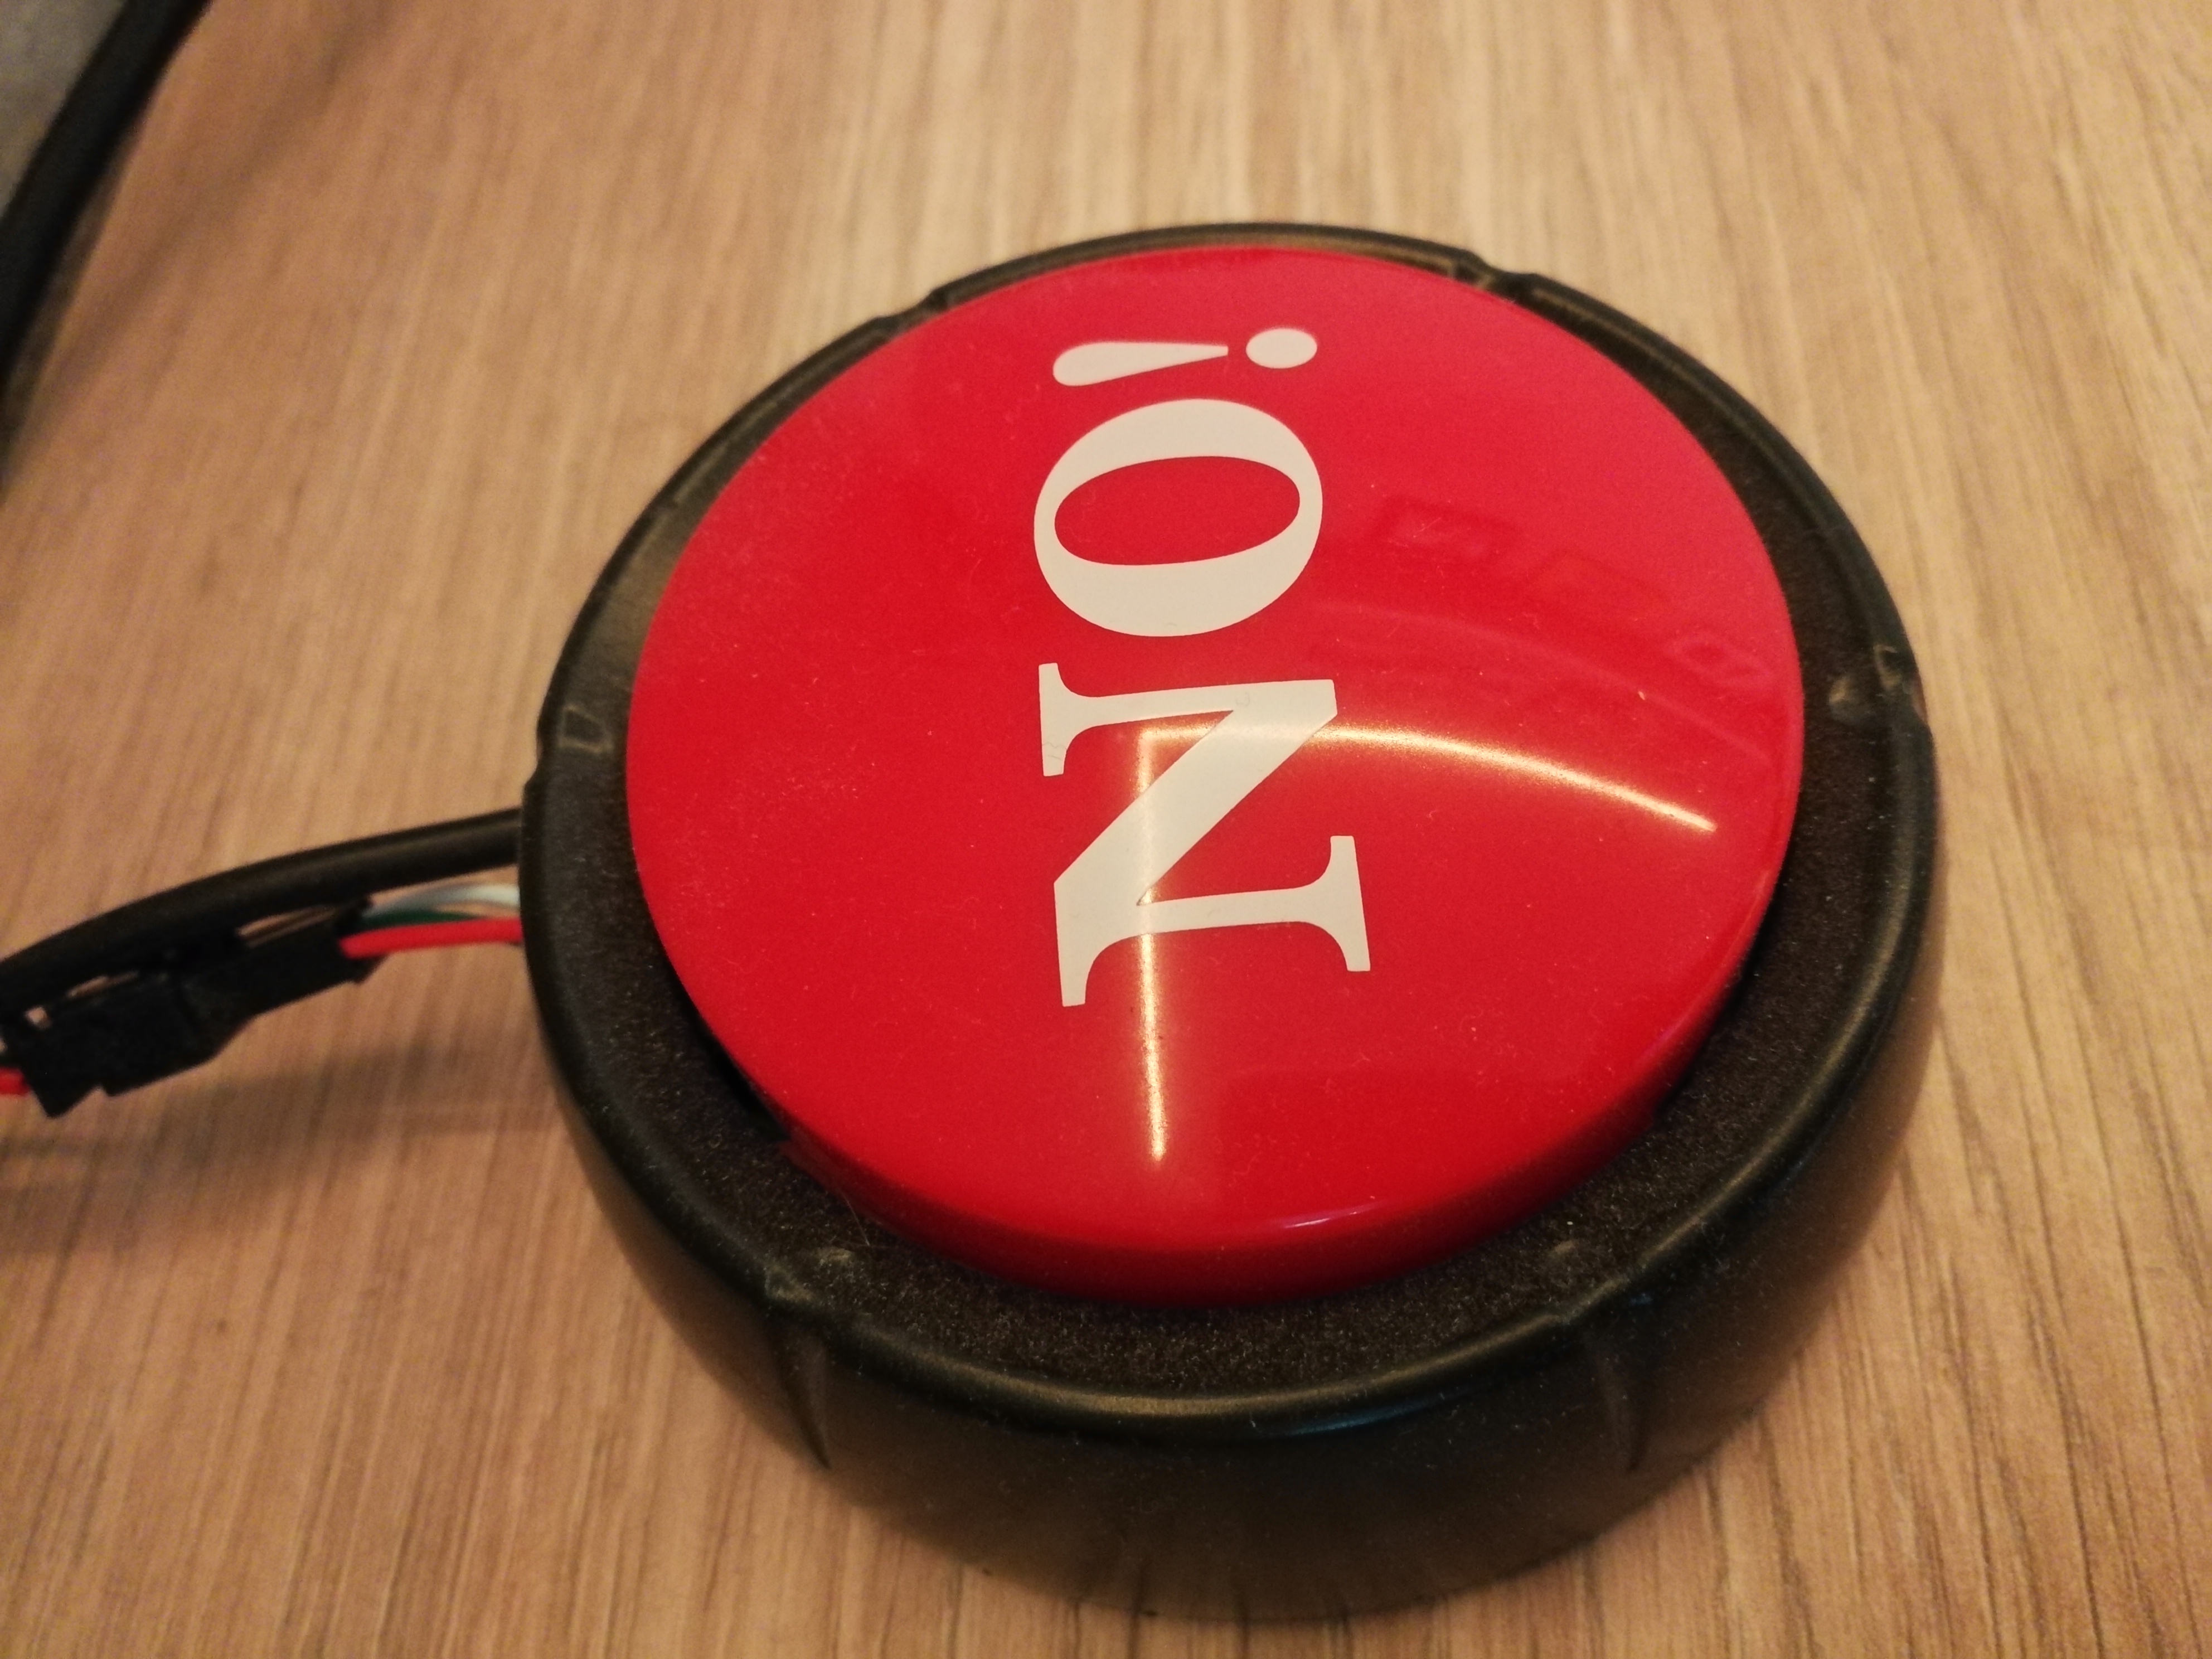
While searching for the perfect button it stumbled across the “No!”-Button and was able to build a photon into it:
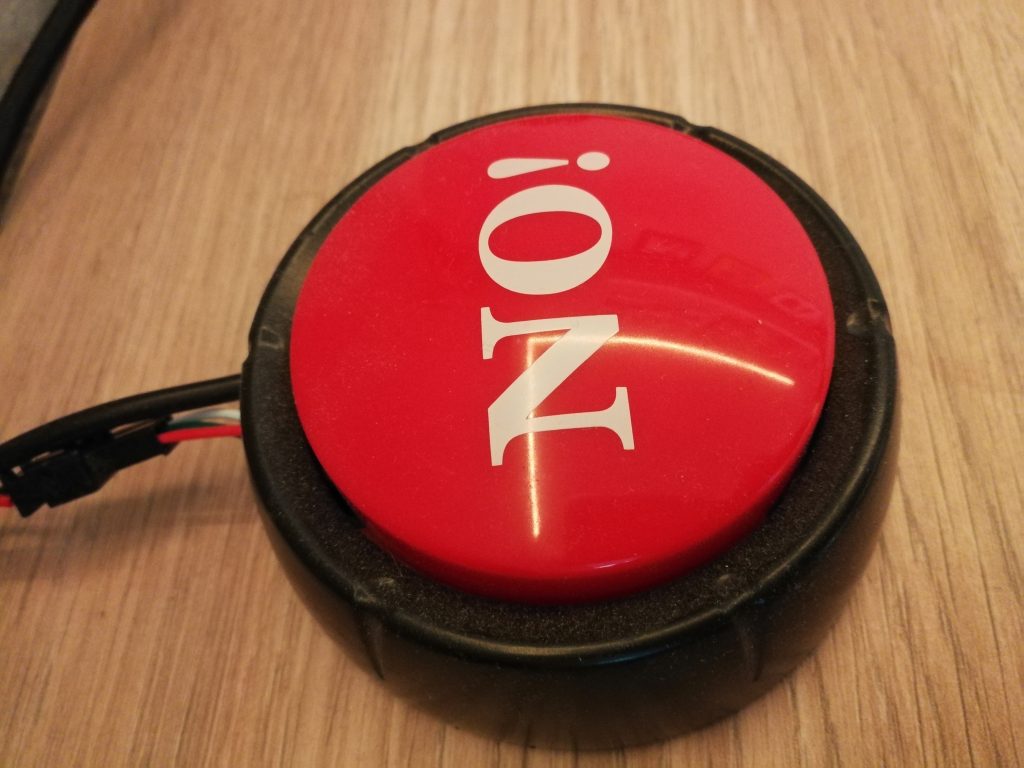
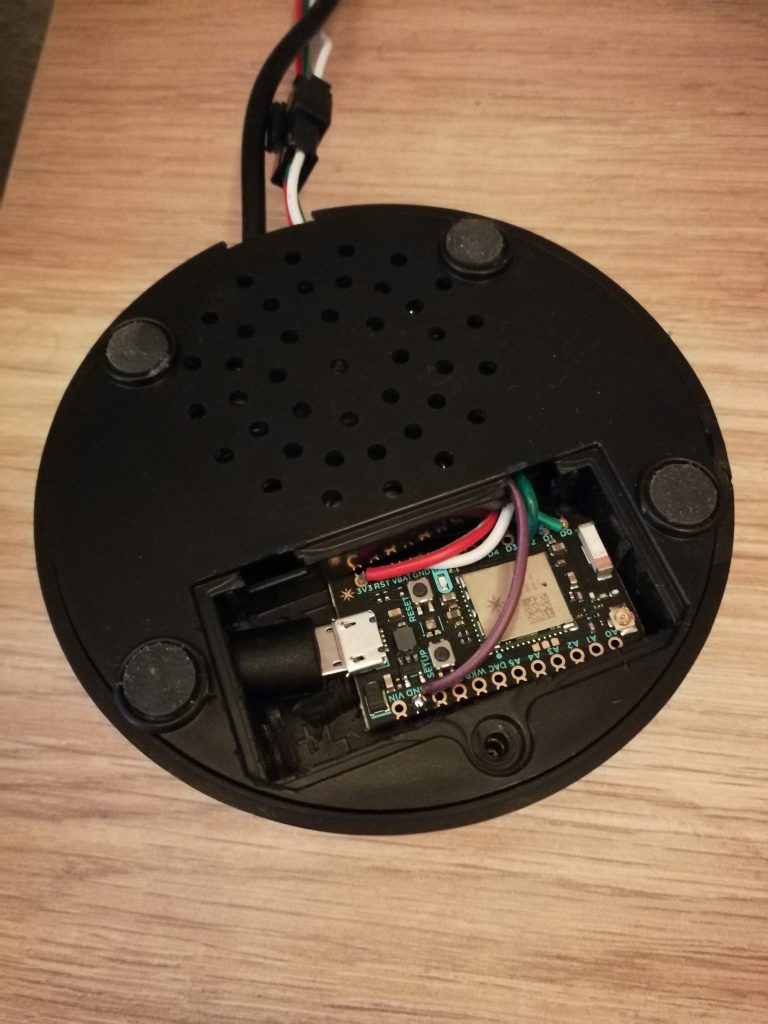
This button connects to a WS2812B lightstrip surrounding my bed which makes a nice indirect light source.
The speaker in the “No!-“Button is also connected to the photon so it can play a nice Super Mario theme when double pressing the button.